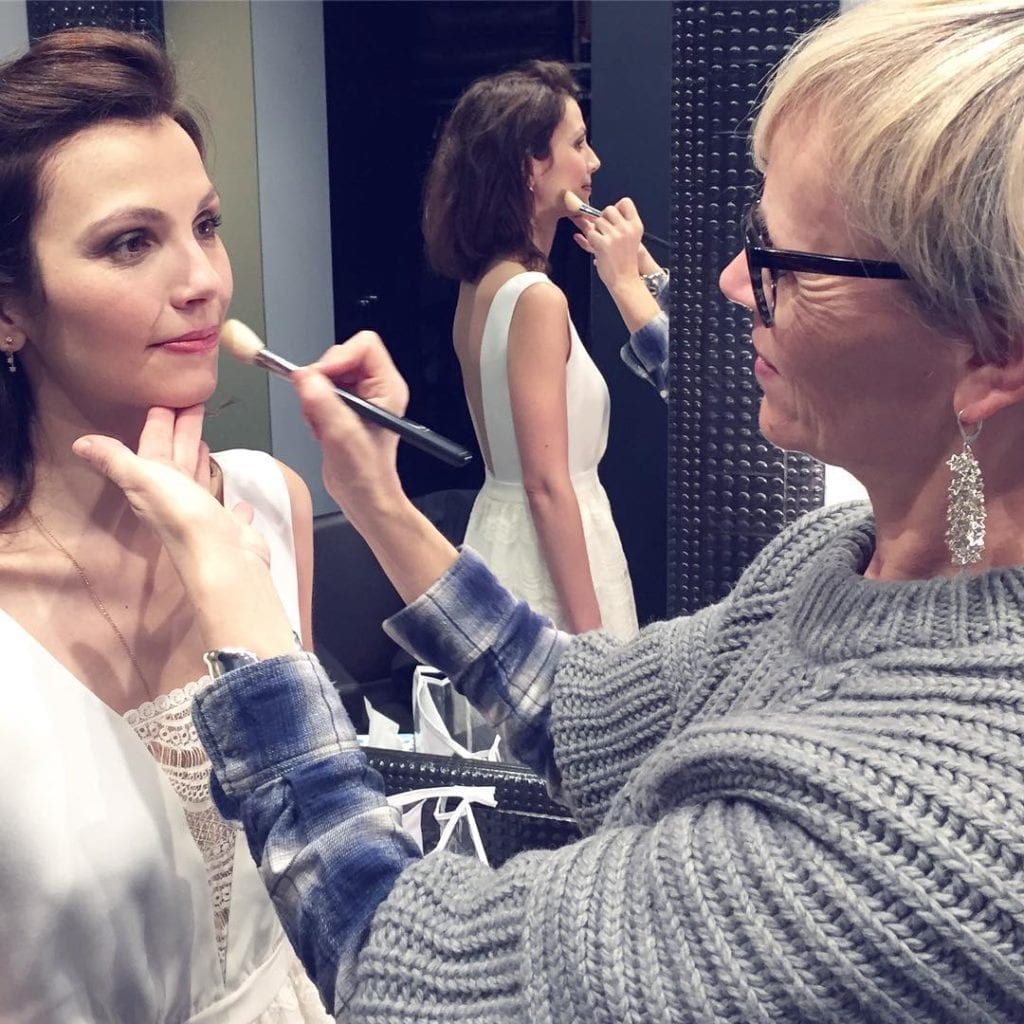

Cover up redness and imperfections but keep your makeup light and transparent, is that possible? Yes! This video shows how you can cover up any blemishes and redness and still not end up with a heavy makeup.
Among all small imperfections, red spots, whether temporary or permanent, are the most common ones.
Redness and its causes
In many cases the cause of redness is simply very transparent skin making small veins show through.
Cold, heat, sun, wind, but also stress, alcohol and spicy food may also make veins expand and cause red spots.
To keep them at bay avoid these triggering factors, but as well too frequent or too aggressive peelings, and also… cigarettes. Which are anyway the worst you can do for your skin as tobacco inhibits blood circulation, resulting in a permanent lack of oxygen.
Find your perfect foundation color and you’ve won already half the battle
The good news is, these red spots can easily be retouched with makeup. Often even a rather lightweight foundation will hide them rather well, you just need to apply a bit more on the concerned zones.
Against the quite common belief that foundation has to be applied in an uniform thickness all over the face, you can actually dab on a bit more when and where needed (for example on and around the nose), and much less where your skin is smooth and flawless. But for this to work it’s crucial that your foundation matches your skin tone perfectly. (I wrote an article entirely dedicated to finding your perfect foundation color, which you can find here.)
Simply add as much product as you feel you need to cover up your red spots and make sure to blend well with tapping motions, either with your fingers or a fine sponge like the Beauty Blender.
The corrector you need
Good correctors will make disappear even the reddest spots. Once again the perfectly matching color is key.
Often one hears that correctors should be chosen lighter than your actual skin color. But retouching your face with those will result in light spots, which make your imperfections stand out even more…
The technique which makes redness vanish
Correctors should be applied very targeted, sparingly and with a super fine brush. Personally I prefer round and pointy brushes (crayon shape) to the more common flat concealer brushes. In my opinion, a round brush is better suited to retouch imperfections, which have most often also a round contour.
I always try to find the absolute minimum of product needed to make an imperfection disappear. The more you use, the bigger the risk the product becomes visible as such. Also it may move, for example when applied in creases and folds.
After dabbing on the product it’s important to blend it carefully using your finger.
Here is another article on perfect skin, how to get it, which brushes you need essentially and which techniques are most efficient.
How about green correctors?
Correctors exist in multiple colors, yellow, peach, green… they are supposed to cancel out redness. At first sight this seems to be logic and a good idea. In color theory green and red are opposing colors and therefore annul each other when laid one over one the other.
In makeup reality things are more complicated as our skin is alive and not static and therefore changes color all the time. Especially temperature changes will have an influence on the intensity of redness. This means, a retouching job, which looks perfectly invisible in your bathroom mirror may turn into bright green patches once you get out into the cold. Dangerous…
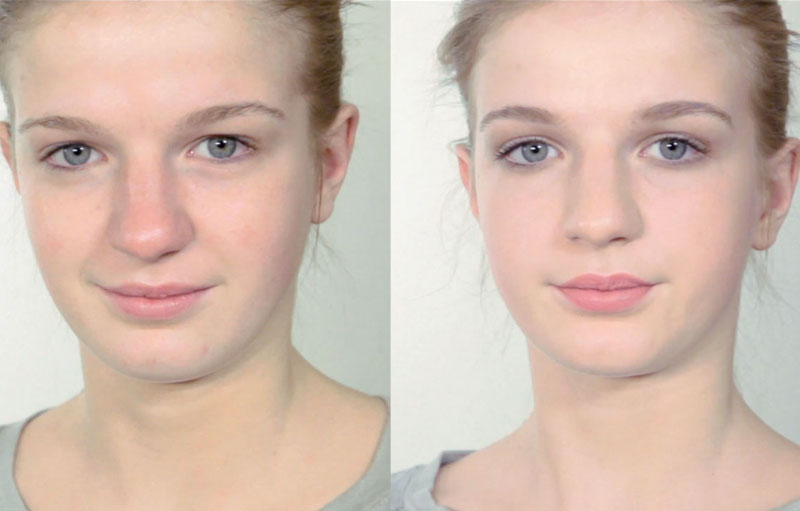
Smooth and even, yet natural looking skin
In this video I show you how to make redness and imperfections disappear, using quite simple but efficient products and techniques. Try it, you will see… 😉
THE PRODUCTS I USED IN THIS VIDEO:
Foundation: Makeup Forever, HD Foundation, col. R230 Ivoire / Corrector: Nars, Radiant Creamy Concealer / Eye pencil: MAC, Eye pencil, col. Coffee / Brush: MAC, eyeshadow brush 242 / Eyelash curler: Shu Uemura / Mascara: Lancôme, Grandiôse, col. Noir / Highlighter: the product I used in this video having been discontinued, it can be replaced by this one: Armani Fluid Sheer / Blush, used for a very light contouring: Nars, Le Multiple, col. G-Spot, mixed with MAC, Eye pencil, col. Coffee / Eyebrows: & Other Stories, Eyebrow Powder, col. 2 / Slanted brush: MAC, small slanted brush 266 / Lipstick: Nars, Pure Matte Lipstick, col. Montego Bay / Lip brush: Shu Uemura, Lip Brush, sadly no longer sold in Europe. Can be replaced with this lipbrush from MAC.
 No products in the cart.