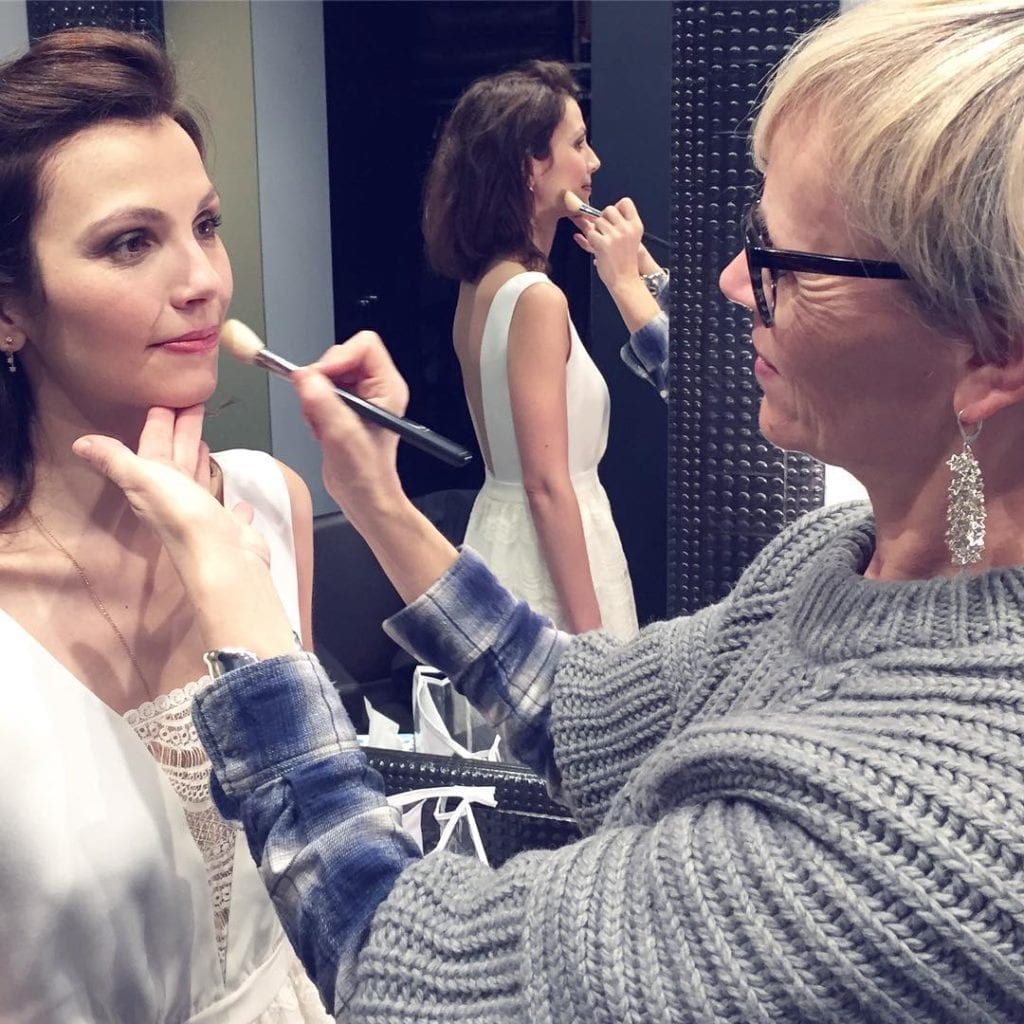

These days, with the face masks covering up the lower halves of our faces, our eyes take all the attention. No more point to applying bright lip colors to freshen up your face, the eyes will have to do it all.
Long time on my mind, it’s therefore now the perfect moment to introduce you to my favorite makeup tool, the eyelash curler, which in 10 seconds flat will open up your eyes!
If for most of us false lashes are way too heavy looking, eyelash extensions or an “eyelash lift” (a mini-perm in fact) too much of a hassle, the eyelash curler truly does make a noticeable effect on basically everyone. It makes the eyes look big and wide awake, and the lashes look fuller and longer. In my opinion it should really be every woman’s best beauty friend.
What makes eyelash curlers so scary?
I hear so often in my makeup classes about eyelash curlers bought centuries ago and never being used. Some other clients of mine even recoil at the pure sight of the tool, likening them to a medieval torture device.
Agreed, their scissors-like appearance may be flippant at first sight. But they’re actually just designed for maximum effect. Once you’ve got used to your eyelash curler, it will lose all the scariness for you over its amazing effect.
In this article I’ll try to guide you through the (few) rules to apply in order to achieve perfectly curled lashes without pinching ore pulling.
The most important rule: always curl your lashes before applying mascara
Even using your eyelash curler every day is no problem at all if you curl your lashes when they’re clean. Lashes are naturally elastic, but mascara makes them more brittle and they may break when you try to bend them.
When you re-cleanse them or wash your face, wait a few moments for them to dry thoroughly. Lashes are, like hair, hollow and keep humidity stored in their inside for longer than you think. Humid lashes won’t curl, wait for them to be completely dry.
I also found it more difficult to curl lashes in very humid tropical climates, in case you’d ever wondered why all of a sudden your lash curler doesn’t work anymore when going away.
Do pull a face 😉
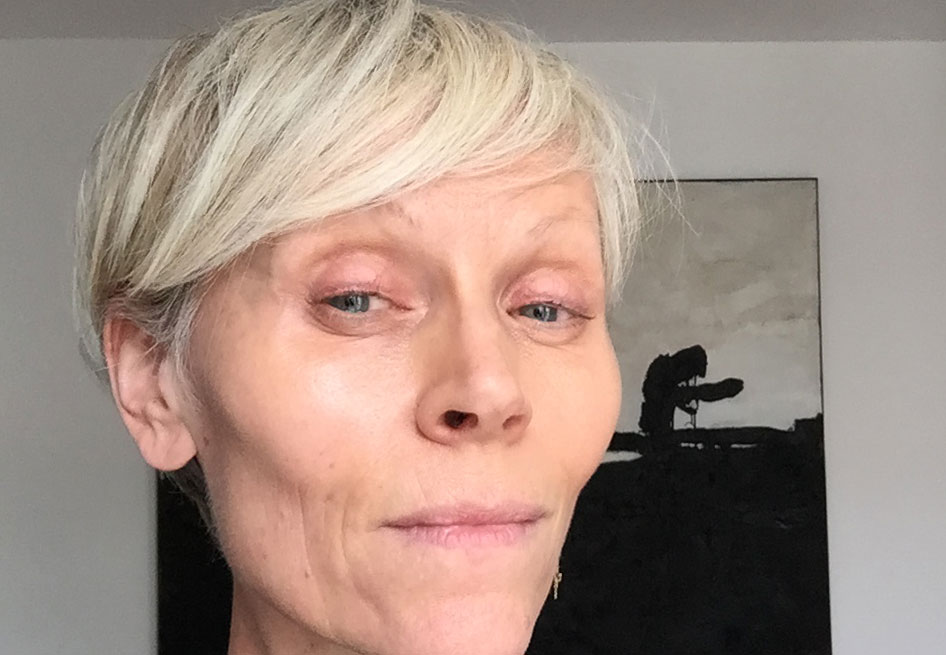
I advise my clients to always sit or stand straight up as I find it more difficult to get the positioning right when for example bent forward.
Now raise your eyebrows to a max and close your eyes ever so slightly, like in picture above. (No one will see you 😉 This grimace will “straighten” your eyelids and thereby make it easier to grab the lashes.
Put your eyelash curler in the right position
Now open the eyelash curler and place the upper part just above your lashes against your eyelid. It’s crucial to touch both the eyelid and the lashes with the curler. Now close the curler (without closing the eye!), carefully at first to make sure you don’t pinch your eyelid. Then hold closed firmly for a few seconds. That’s basically all.
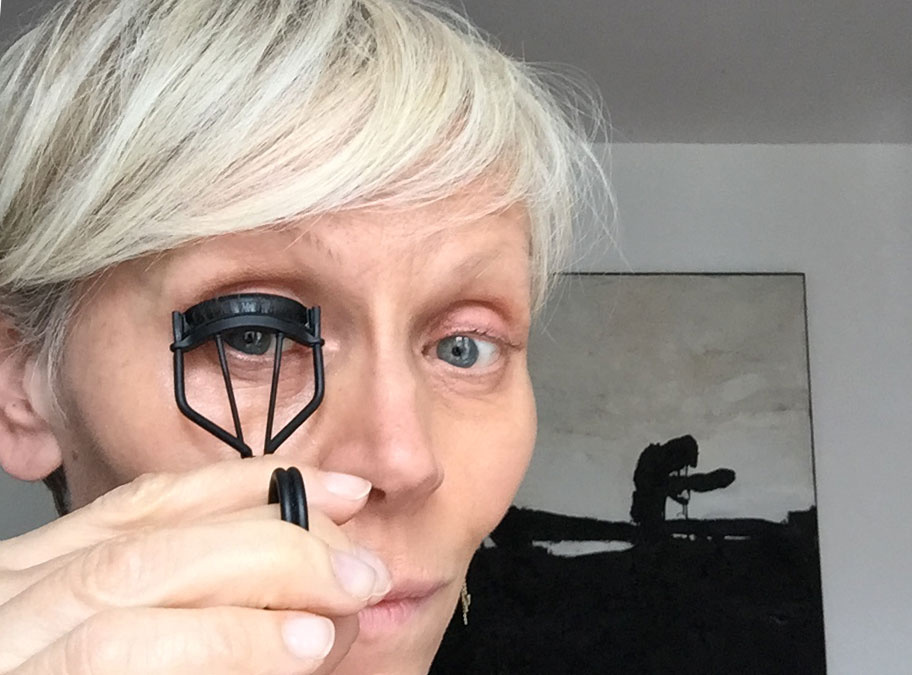
The challenge is to get as close as possible to your eyelid in order to bend upwards the full length of the lashes. If you feel the cold metal of the eyelash curler against your eyelid you’re there!
Make sure in the mirror that no bit of skin is visible between the rim of the curler and your lashes. If you pay attention to this, there’s really no way you’ll pinch yourself. A slight tug feeling on your lash roots is normal and actually proof that you caught them, but there shouldn’t be pain.
If you haven’t been able to catch all the lashes at once re-position and repeat. There’s no harm in doing the curling in several steps, you might actually want to insist a bit more on the outer corner.
Pro tips for extra-strong eyelash curling
To get some extra oumpff, try the following: After a first curl in the position described above, open the still-in-position-curler ever so slightly, lift the handle a bit up and close the curler again in this angle. This should add a second bend, lifting the lashes even further.
Another trick to get stronger and longer-lasting results is to heat up the (metal) curler.
The other day on a photoshoot our model used cold-bloodedly her lighter for this. This is not a method I’d recommend not least because of the soot which transfers onto the skin. A safer and cleaner way is to use your hair dryer. Be careful not to overdo it in order not to burn your eyelids.
More do’s and don’ts when it comes to eyelash curling
What you shouldn’t do is pull your closed eyelash curler to avoid yanking out lashes. Seems obvious but I see a lot of people being quite rough with themselves.
Changing the pad after a while is important, that’s why most curlers come with a replacement pad. The moment has come when the pad shows a regular cut where the upper part hits it.
How to choose the perfect curler for your eye shape
If with all these tips you still can’t get the right swoop, you might just not have the right curler for your eye shape.
You may never have paid attention to this, but the “eye bed” of eyelash curlers actually varies quite a bit in shape and size. Ideally your eyelash curler should match your eye shape and size, so that with one squeeze you manage to catch all lashes and bend them upwards evenly. If you tend to pinch your eyelid the cause may be the wrong shape of the curler, to rounded or too long.
In my experience shorter and wider, less rounded, work better for most eyes. For beginners, they should also open rather wide to facilitate the correct positioning.
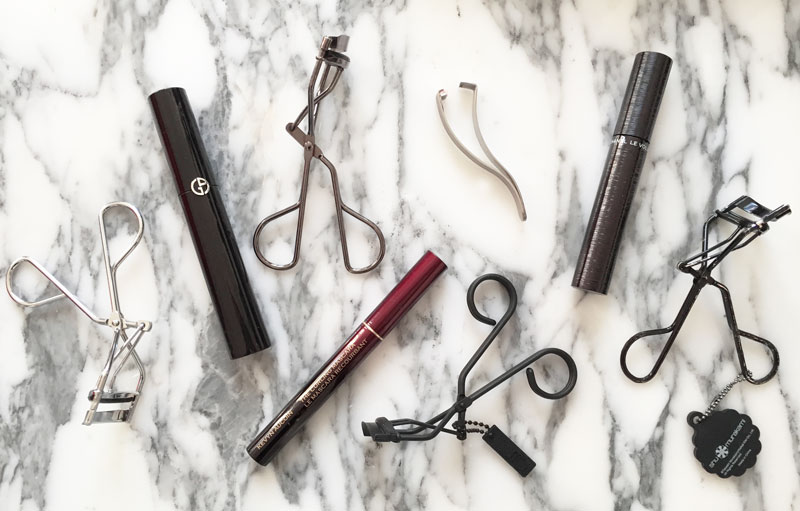
Here’s a short list of my current favorite curlers.
My favorite eyelash curlers for big eyes
My absolute no.1 favorite is the Surratt Relevée eyelash curler which I find gives perfect results. Big, wide open eyes, very natural looking. It’s easy to use, grabs all the lashes at once, super comfortable, no pinch, no pull. But… quite pricey. And in Europe not to be found in stores, only online.
A longtime favorite among my makeup artist peers is the one from Shu Uemura. Inside the industry many consider it the best. Personally, I find the very big and rounded shape not suitable for all eye shapes. Especially people with smaller and more almond shaped eyes will find it difficult to work. Sadly no longer available in Europe, you can order it online.
A bestseller, and for good reason, is the curler from Shiseido. Its shape is less rounded which makes it suitable for most eye shapes. Its design is super robust and not only comes with a spare cushion. The cushions being also available separately make this tool an excellent long-term investment.
On the more affordable end I find the Kiko curler is really good especially for beginners. The eye bed’s shape suits more or less everyone and it opens pretty wide which makes it comfortable to use. It may not be the sturdiest design but for the price (5,99€ in France) you can’t ask for much more.
The ultimate tool for stick straight and curl-resistant lashes is the Lash Star Individual Lash Curler. You can also use it for detailed curling, for example if you want to give an additional lift to the outer corners. It’s more for the advanced though as it does require a bit of dexterity and some cold blood.
And once the lashes are curled…
… they need a coat of mascara, to bring out the beautiful curve and to make them last longer. How long does the effect last anyway? I wanted to find out one day and curled only on one side. Even without mascara, 12 hours later there still was a visible difference! But like I said further up, the effect may depend on many factors like for example air humidity.
Mascara definitely helps to maintain the curves. For my personal “best of” mascaras, plus some pro application tips, have a look here.
If you have more questions or need specific makeup advice…
If you’d like some personalised advice, please get in touch for a makeup class! Either in person or online, for you individually or with friends, I’ll be looking forward to meeting you!
By Louise Wittlich
 No products in the cart.